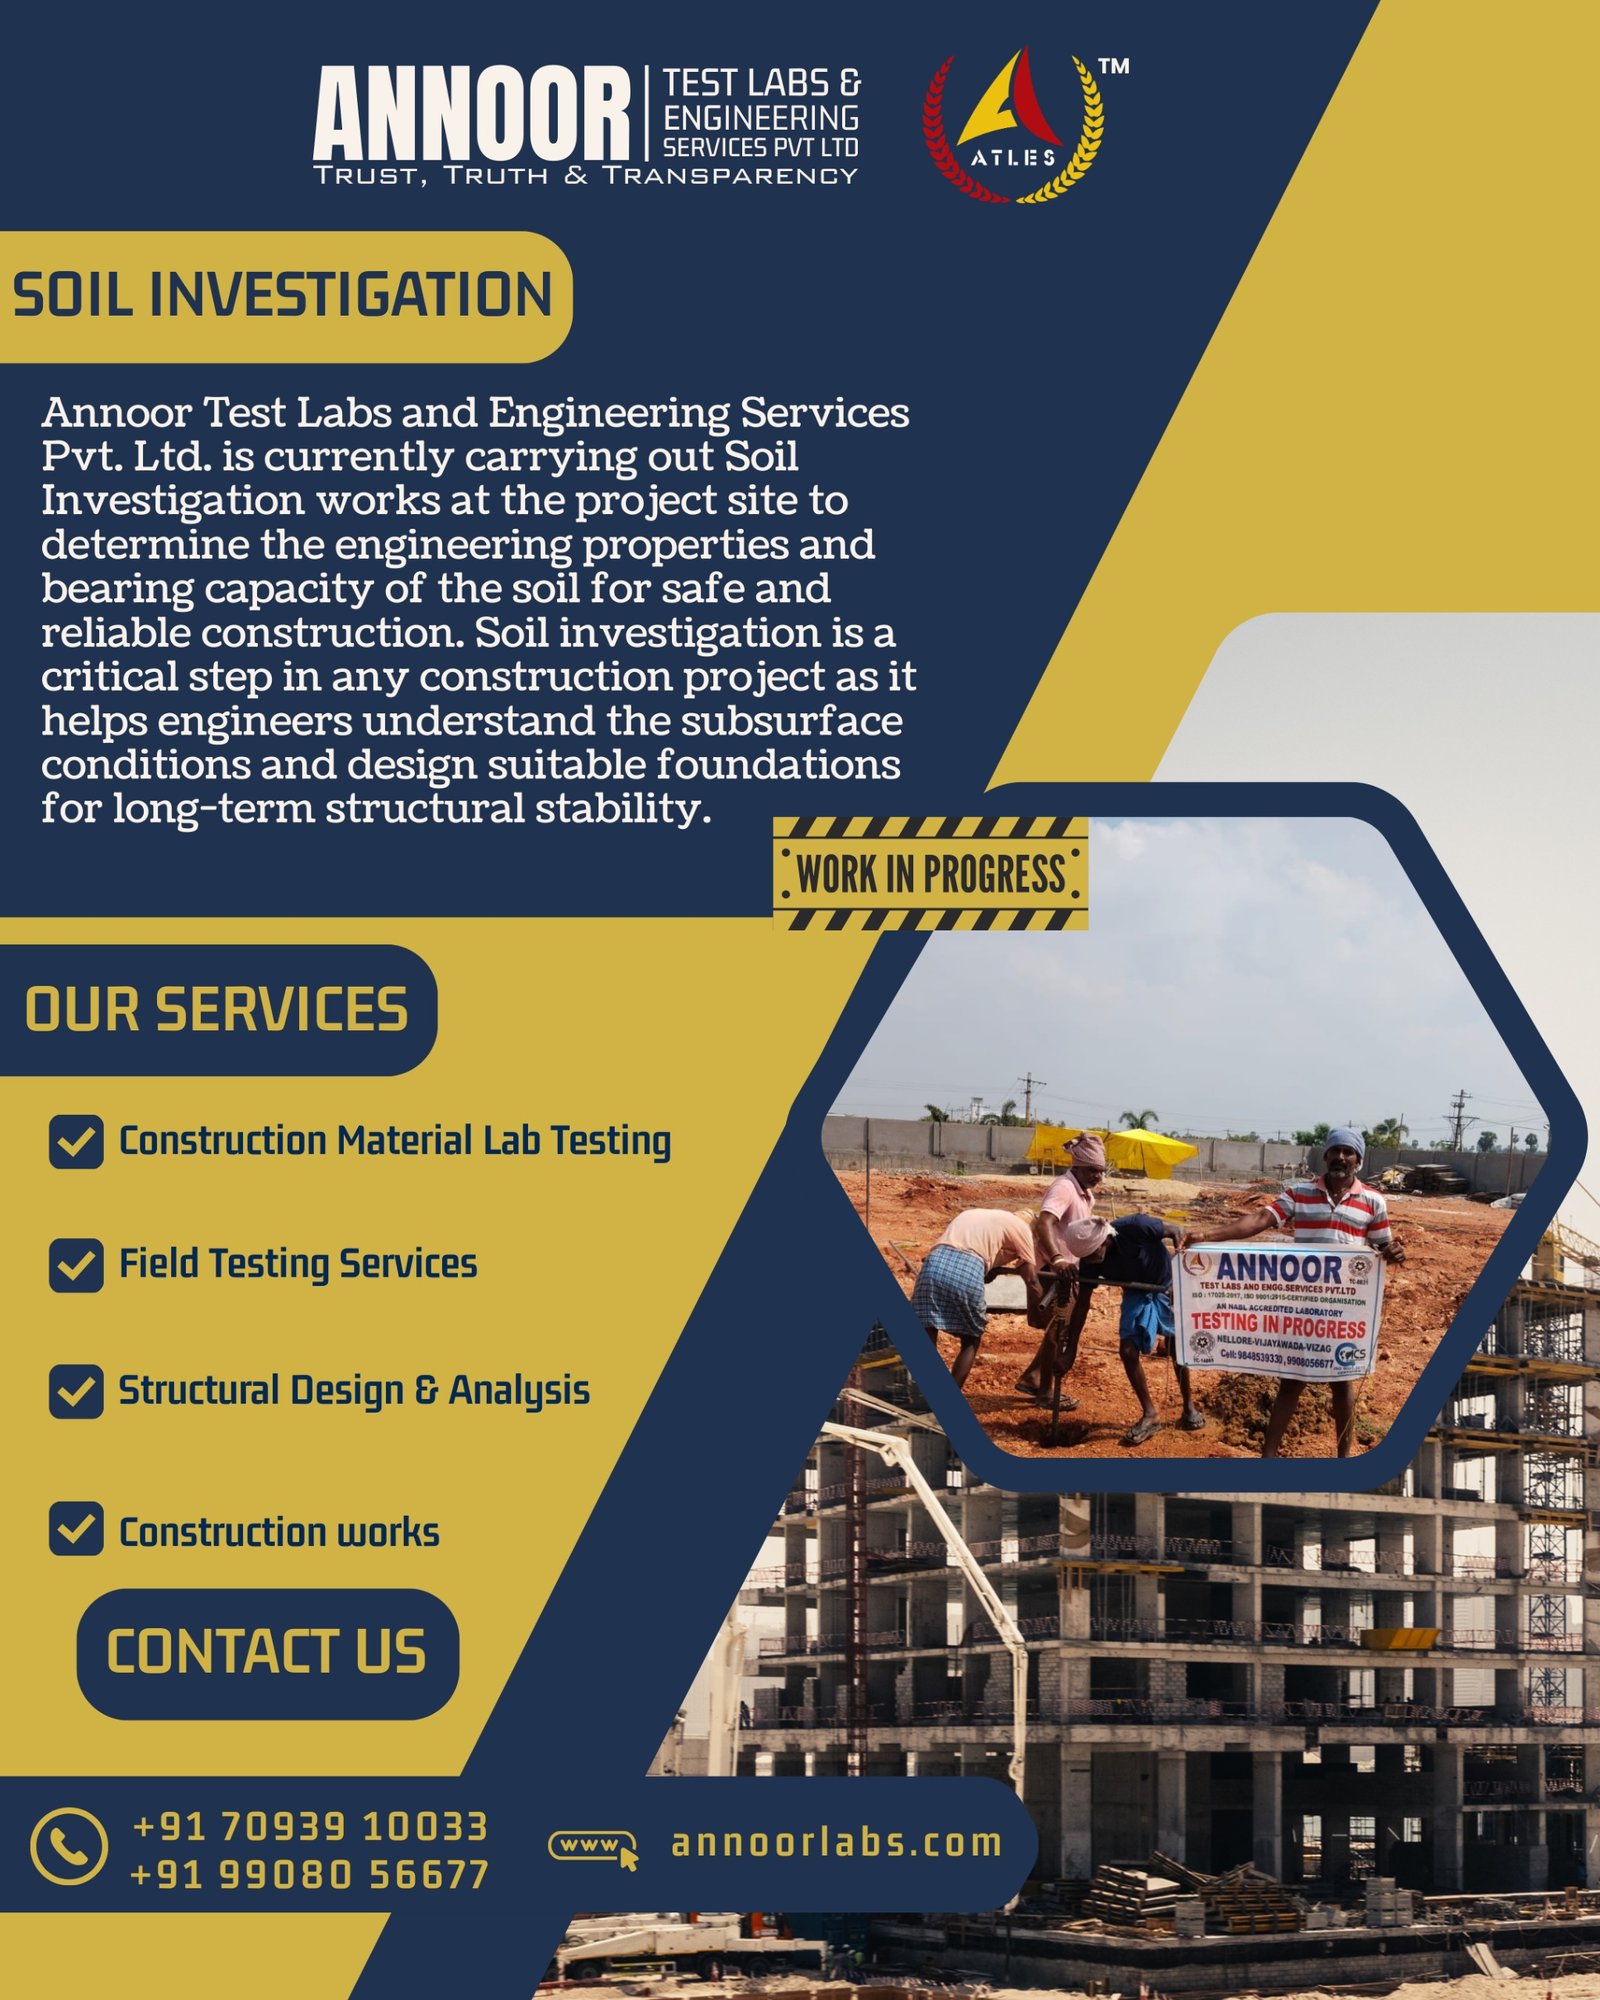


Lateral Load Test
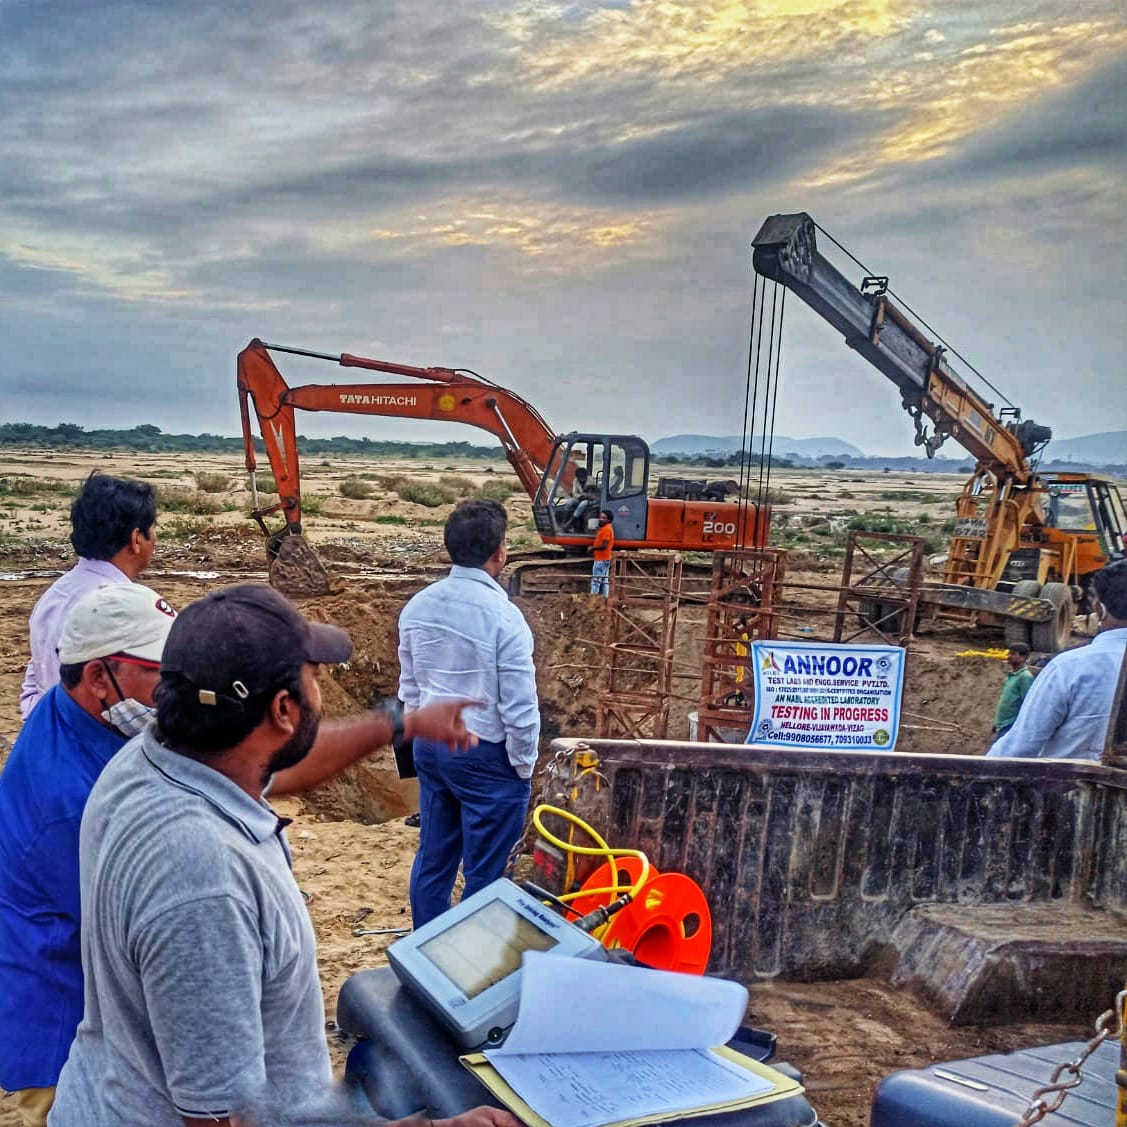
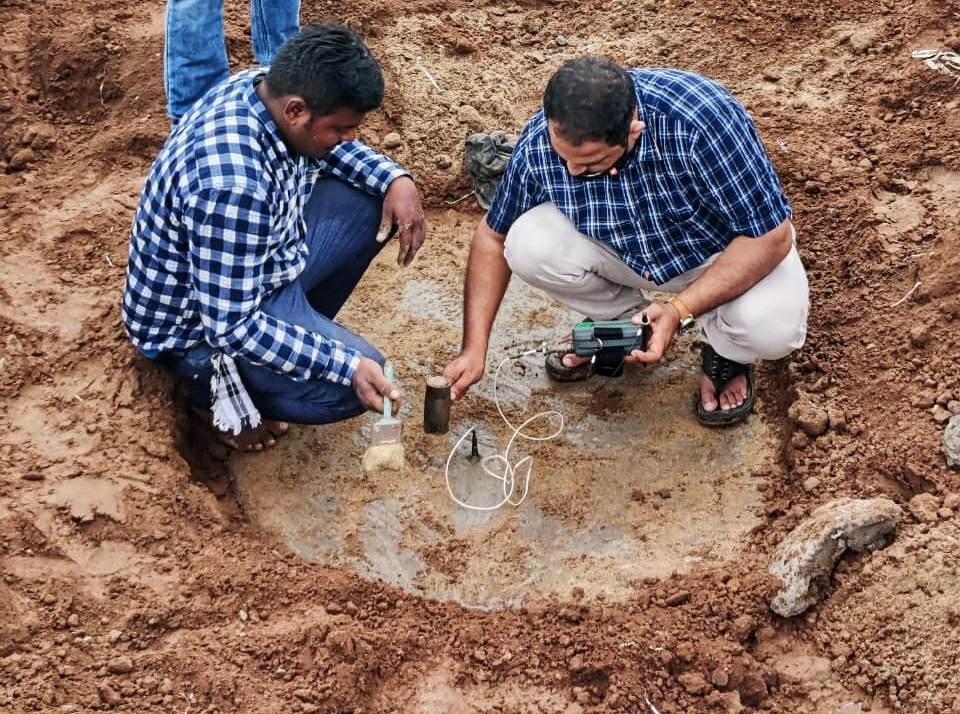
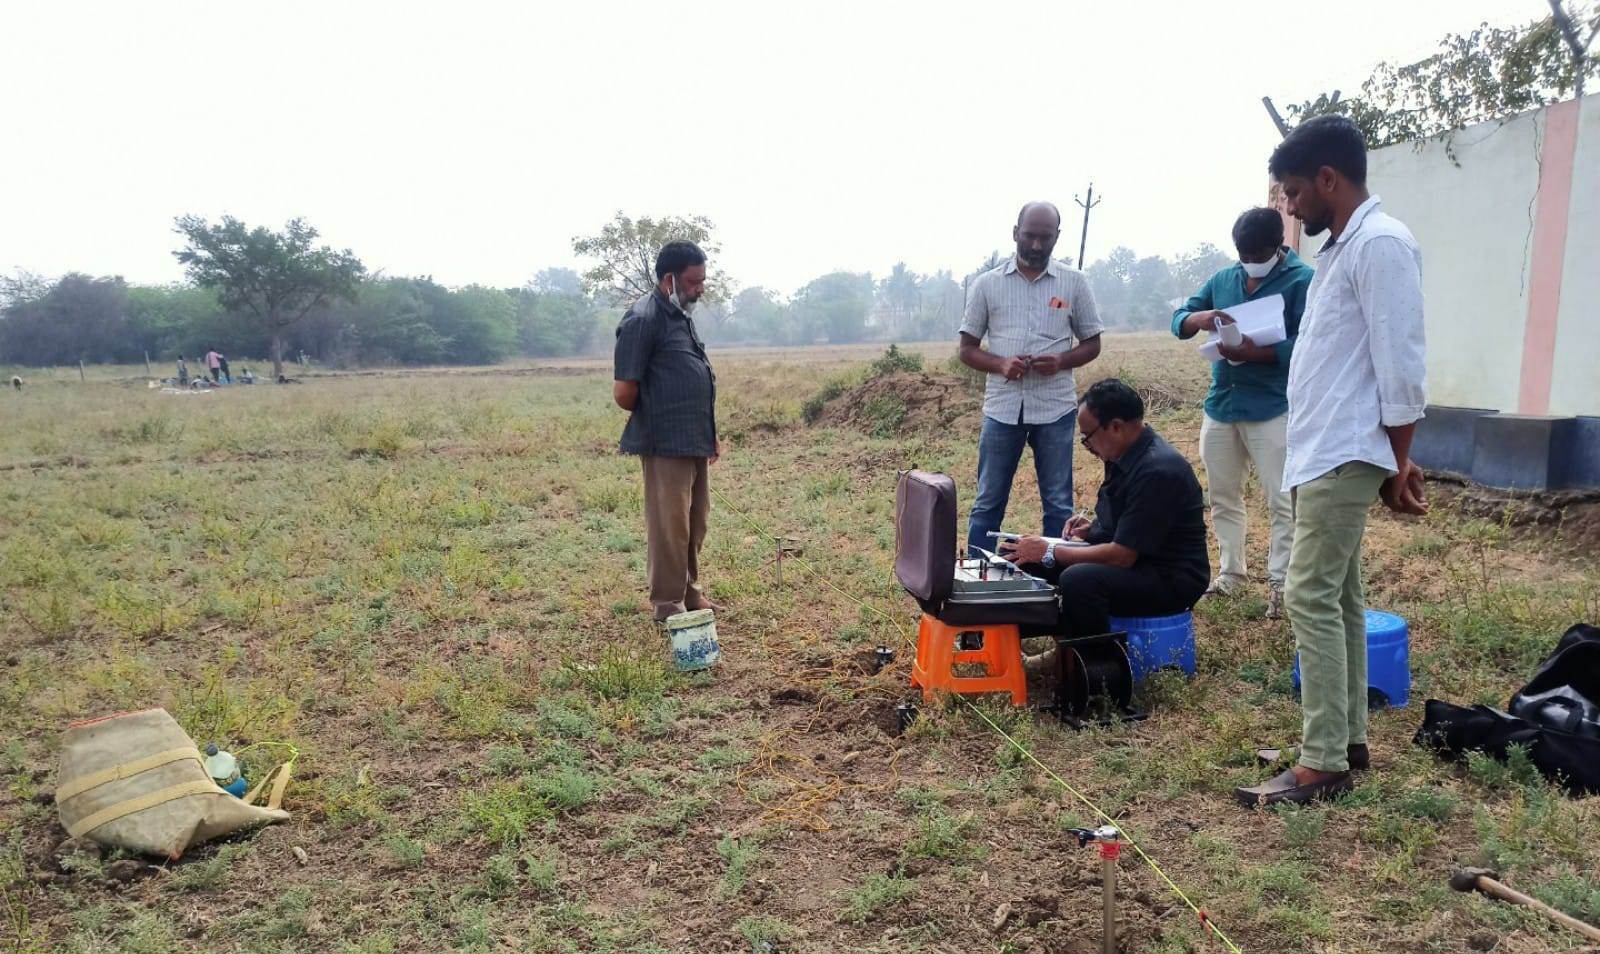
Annoor Test Labs and Engineering Services Pvt. Ltd. is currently carrying out the Lateral Load Test at the project site as part of the ongoing foundation evaluation and quality assurance process. This test is an important field testing method used to determine the lateral load carrying capacity and structural behavior of piles when subjected to horizontal forces.
The lateral load test is essential for projects where structures are expected to experience sideways forces such as wind loads, seismic forces, water pressure, earth pressure, and other horizontal stresses. These forces can significantly affect the stability and performance of deep foundation systems.
Read More